


Hello my crafty friends! I hope you had a terrific week and are ready to get crafty this weekend. I had a full week this week with my grandson's birthday and a not so fortune mishap that injured my elbow. (note to self: you are not 21 anymore!) I am on the mend and all is well.
This week I dove into stenciling. This is really an outside of the box technique for me. So there were a lot of moments that I was like: "Ok, how do I save this piece now?" Then, I realized this is part of the creative journey---so let's get on with it!
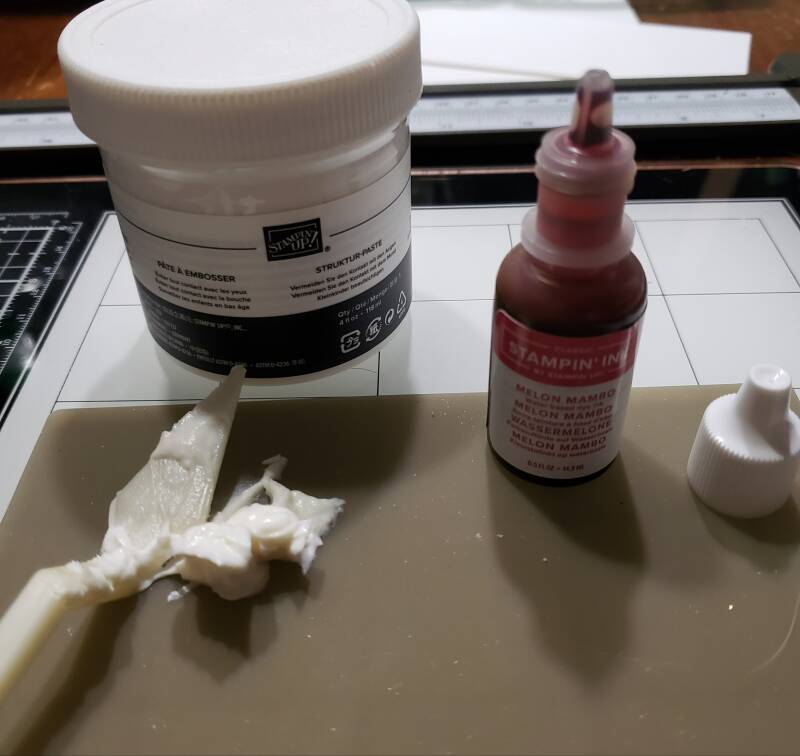
What do you need for Simple Stenciling? cardstock or watercolor paper, sponge daubers, blending brushes, ink and stencil of choice. Additional supplies, I suggest are a silicon mat, stencil/embossing paste, palette knives, simply shammy cleaning cloth and painters/washi
tape.
IMPORTANT: When using a water-based ink wipe stencil clean between every color change. If using a pigment ink or paste, wash stencil immediately to preserve the stencil. When I say immediately, I mean as soon as you are finished applying paste, wash it, or your stencil will have paste on it forever.
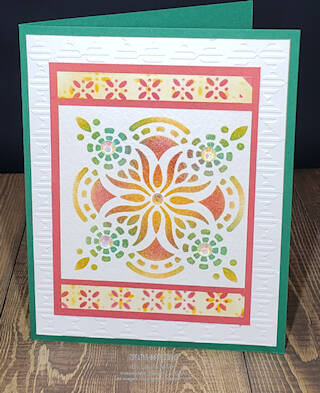
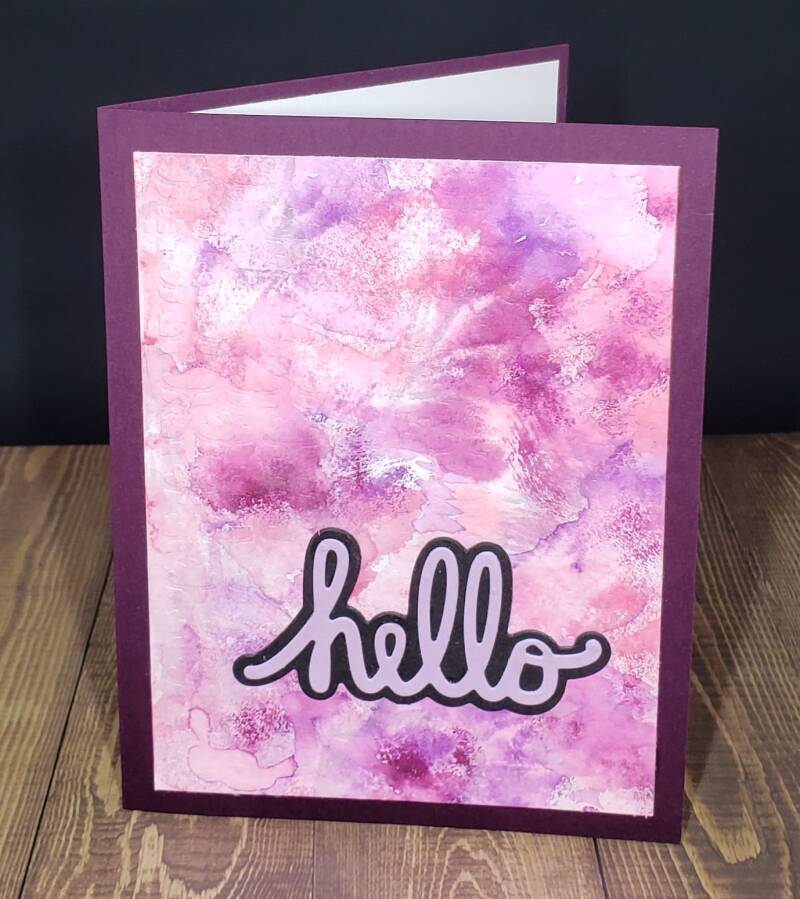
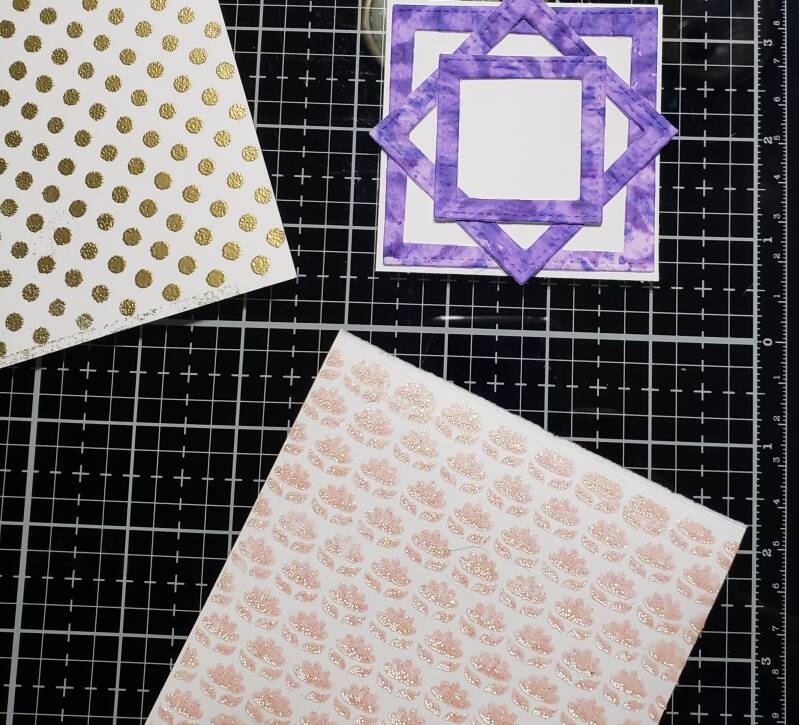
Let's get started! Pick your ink, stencil and whatever medium you are using. (ie. ink, paste, spritzer bottles). Prepare you workspace. I have a glass mat that I use for messy mediums. I taped my cardstock/watercolor paper to my glass mat and then tape stencil to secure it for no movement of stencil. Then just as I would blend on any card, I start applying colors being sure to wipe stencil between color changes. Once I was happy with the ink blending, I took my palette knife and applied a thin coat of a shimmery white finish paste on top of the blended ink. Much to my surprise, my ink which was Stampin' Up! bold collection, changed to pastel looking colors. Not really the look I wanted but hey...it is the creative journey and now I know (and so do you) to not expect colors to stay the same when using paste. At first, I was like "epic fail" for the project I wanted to make. Which it was for what I wanted to do but it wasn't a fail, it was just going to be used in another way than I first intended.
Below are a few of the stencil projects that I worked on this week. I had intended to do different techniques to show you but my dominant hand elbow was swollen and very sore from my mishap this week and I didn't get to delve into stenciling as I wanted. So I will post more this week as I do those techniques.
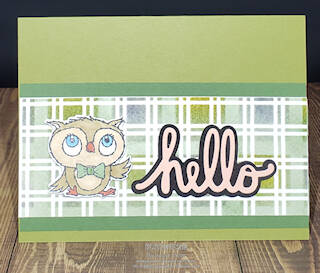
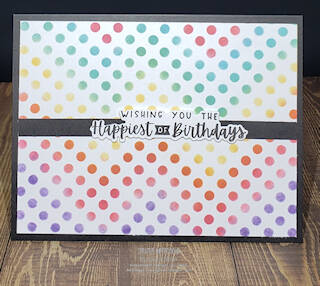
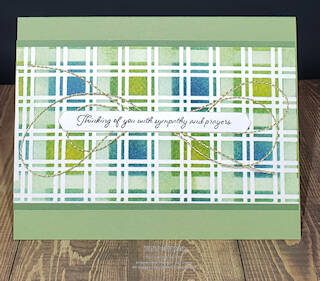
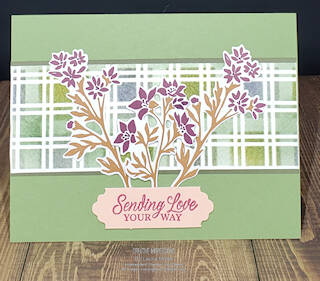
Stenciling ink to cardstock
Below are a few different stenciling projects using ink to paper technique

Simple Stenciling-Part 2
I worked on a few different stenciling techniques last night to show you different ways to use stencils.
Stencil Paste/Reinkers Technique
Try using your re-inkers (adding one drop to a small amount of stencil paste.) It definitely gives a boost to the color vs ink to paper and then adding stencil paste. It may be the stencil I used here but I think a variegated use of color instead of bold color changes would work much better. In the last photo I used Petal Pink re-inker and shimmer paste. This turned out beautiful.


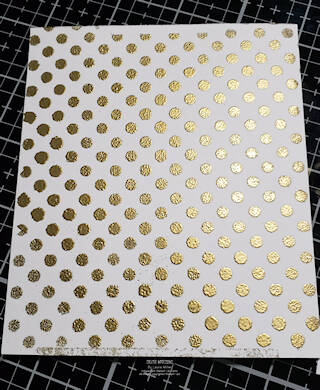
Stencils and Embossing Ink/Powders
Simply add VersaMark ink over entire area, remove stencil and add embossing powder. This was super easy and good results.

Stenciling with Embossing Folders
Simply adding your stencil in your Stampin' Cut and Emboss machine gives an impression and a unique texture to your creation.
Add comment
Comments
Love what you do!!
Very nice this week as always! Thanks for the tips!
Thanks so much Judy!