Hello My Crafty Friends! Today I am introducing Techniques Tuesday to my blog. Each Tuesday, I will share a different technique to inspire creativity in your crafty space.
This week is the wax paper technique using embossing folders or if you don't have embossing folders you can just crumble up the wax paper to get a textured effect. Are you ready to learn how to do this technique?
SUPPLIES:
Wax Paper cut to 4 1/4 x 5 1/2
Basic White cardstock cut to 4 1/4 x 5 1/2 (two pieces)
Iron on hottest setting no steam
Embossing folder of choice
Cut and Emboss Machine
Inks
Blending Brushes
A piece of chip board or an ironing board to iron pieces


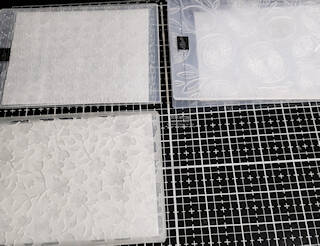
Step 1: Place wax paper in embossing folder
Step 2: Emboss wax paper
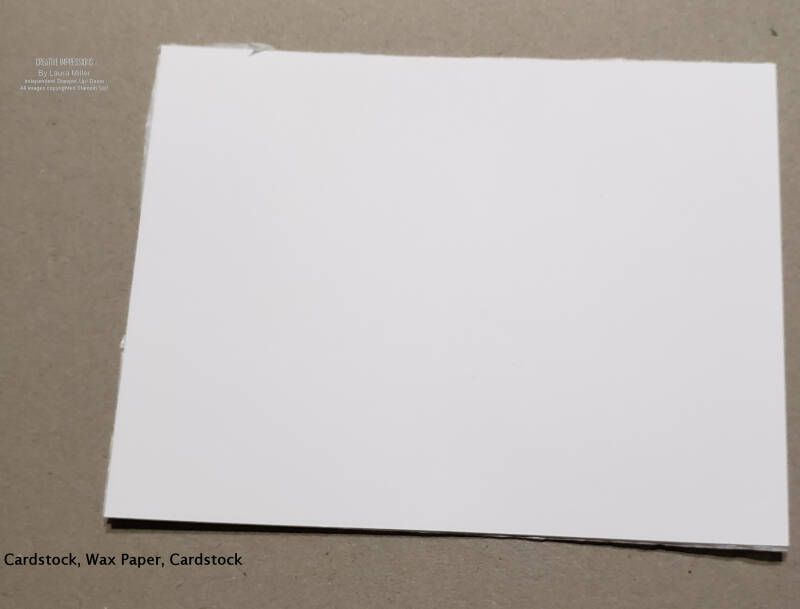
Step 3: Place embossed wax paper between two pieces of cardstock
Step 4: Iron the sandwiched cardstock and wax paper on ironing board or chipboard. Be sure to constantly move the iron and for me; it took 15 seconds on each side for the impression to transfer. You will not be able to see the image when done. So make sure you know which side of the cardstock was facing the wax paper. You will do next step on that side of the cardstock.
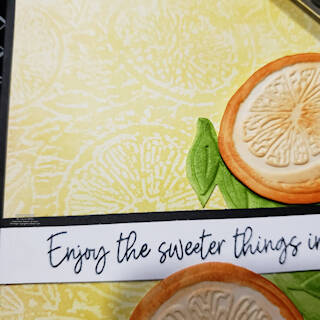
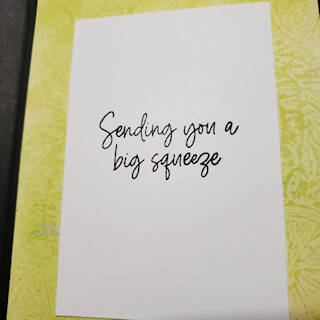
Step 5: Blend ink on cardstock to reveal the embossed images. Each of the pieces of cardstock will give a different look, as it is the negative and positive of the impression.
Have fun creating your unique background pieces with this technique!
Creatively,
Laura


Add comment
Comments